General Information
During VMworld 2020, VMware announced the long-awaited availability of their ESXi hypervisor for Arm devices, which includes the Raspberry Pi. As of today, ESXi on Arm is not yet a final product and published as Fling. A VMware fling is an unsupported virtualization software tool created by VMware engineers.
Official Site: flings.vmware.com/esxi-arm-edition
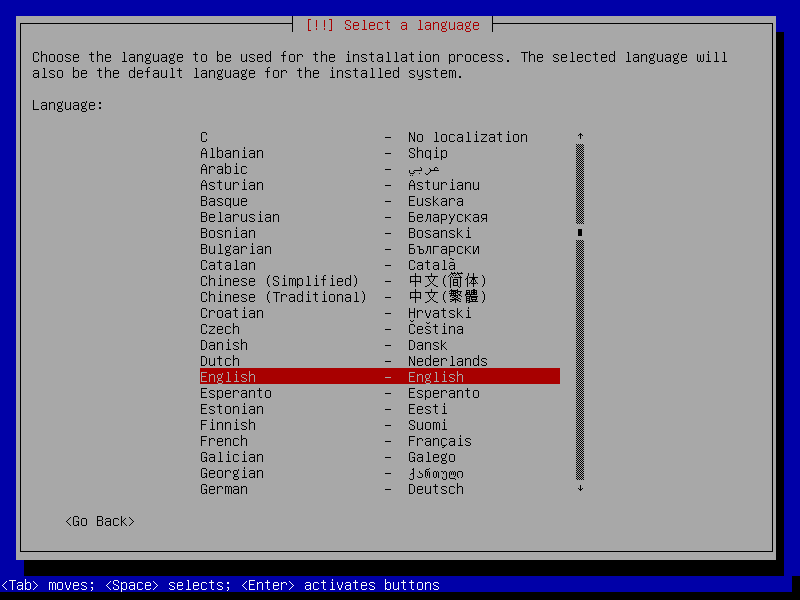
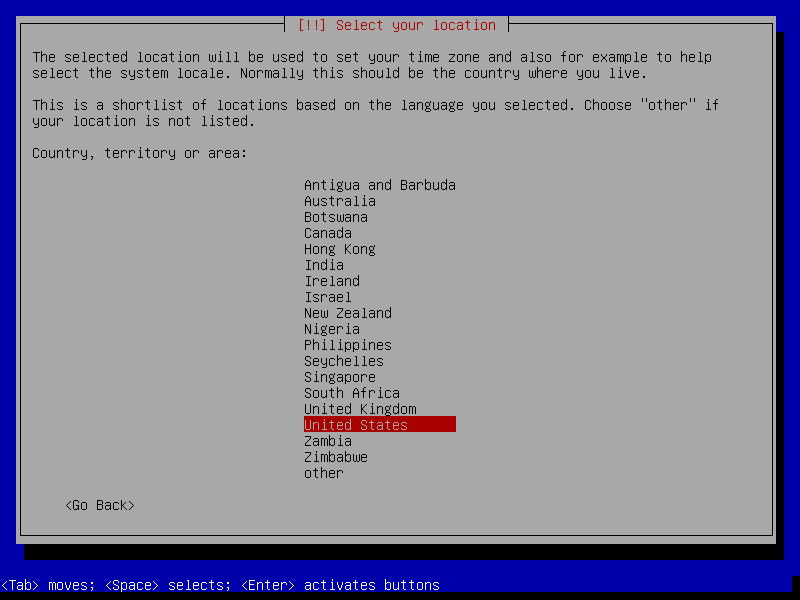
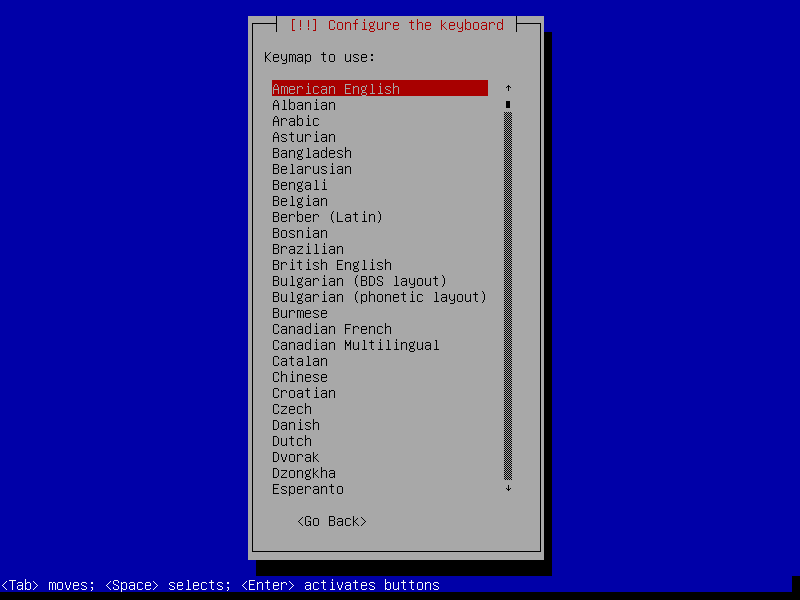
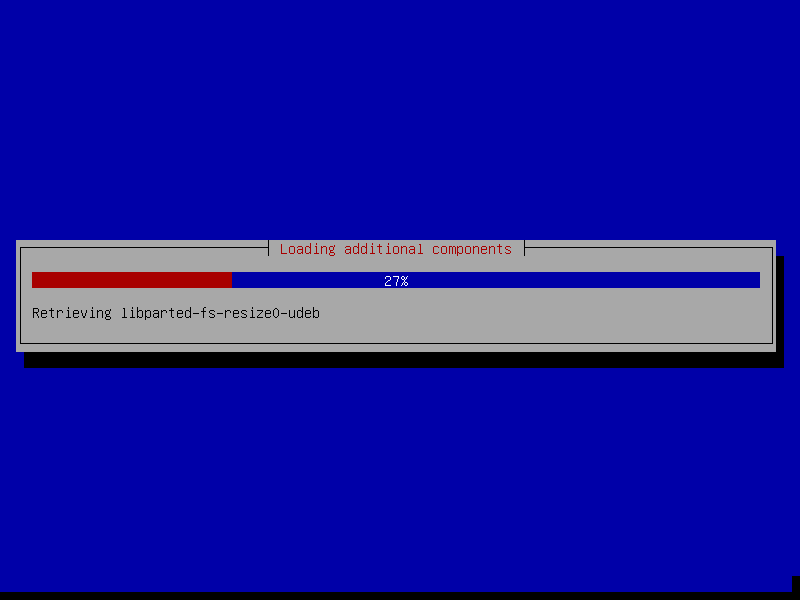
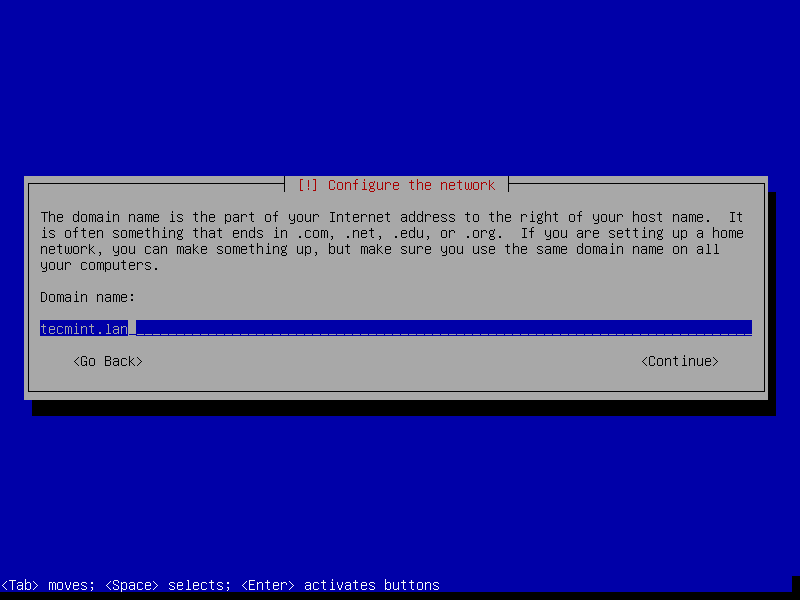
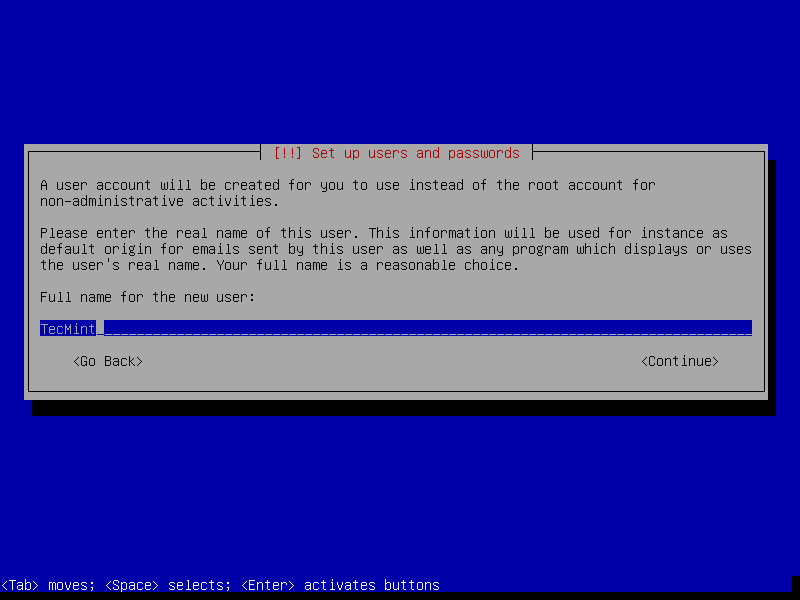
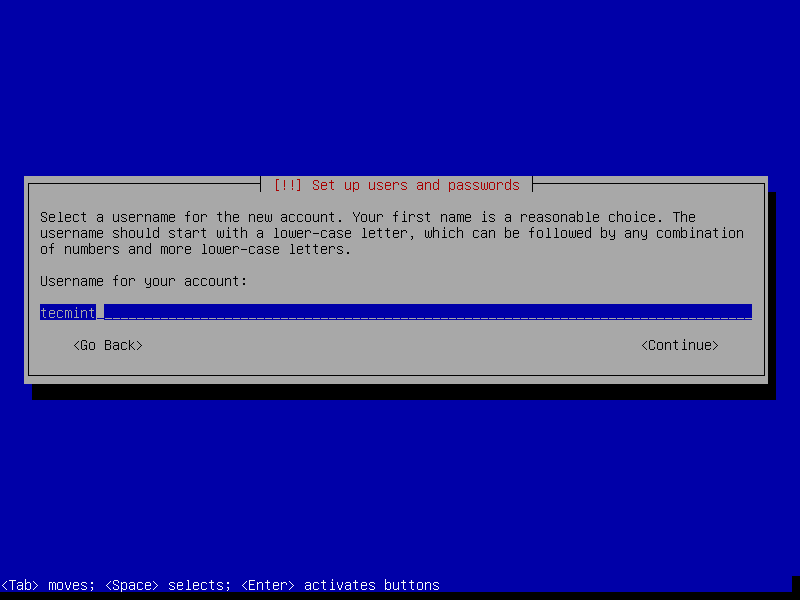
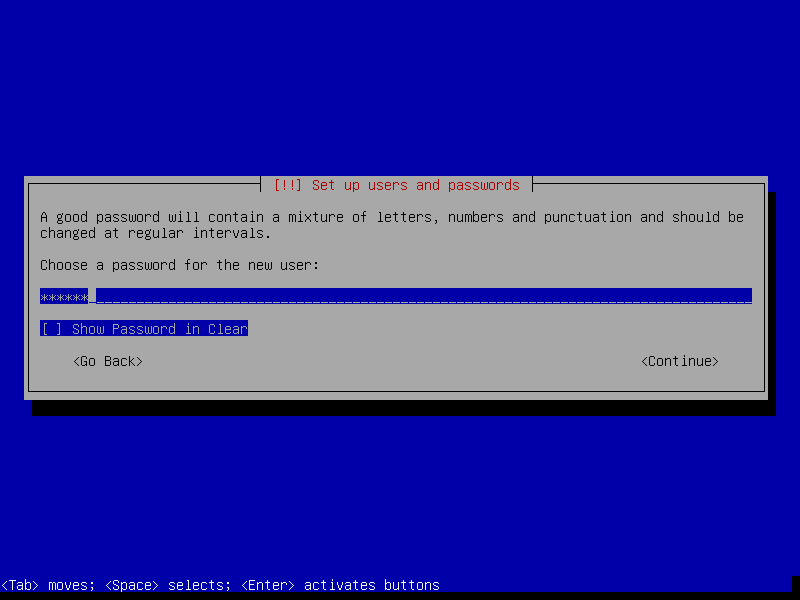
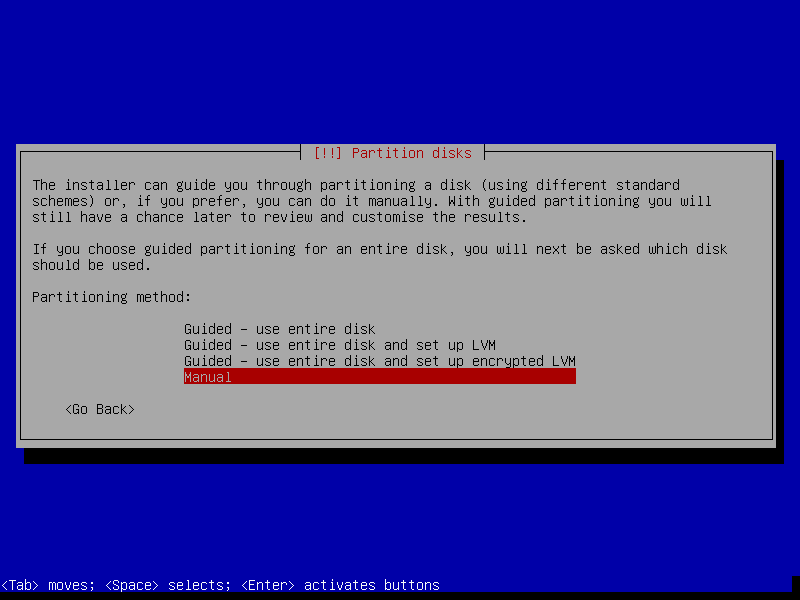
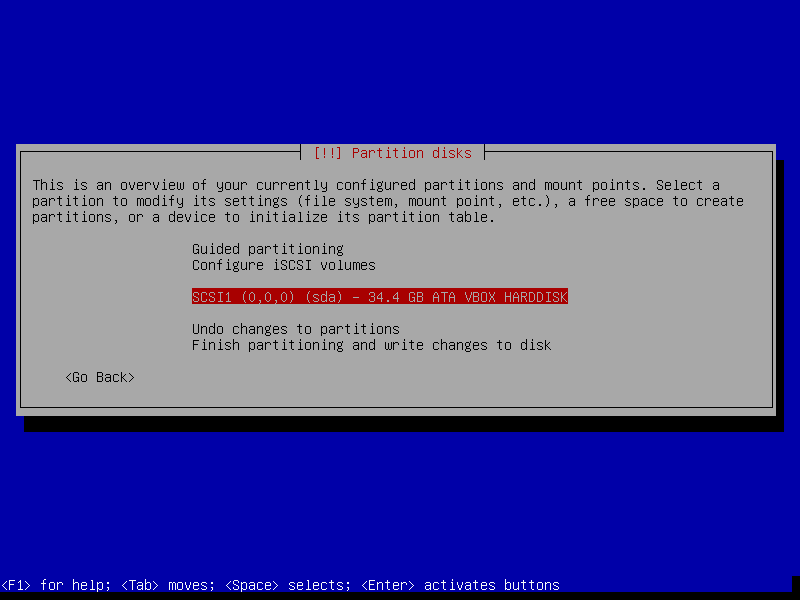
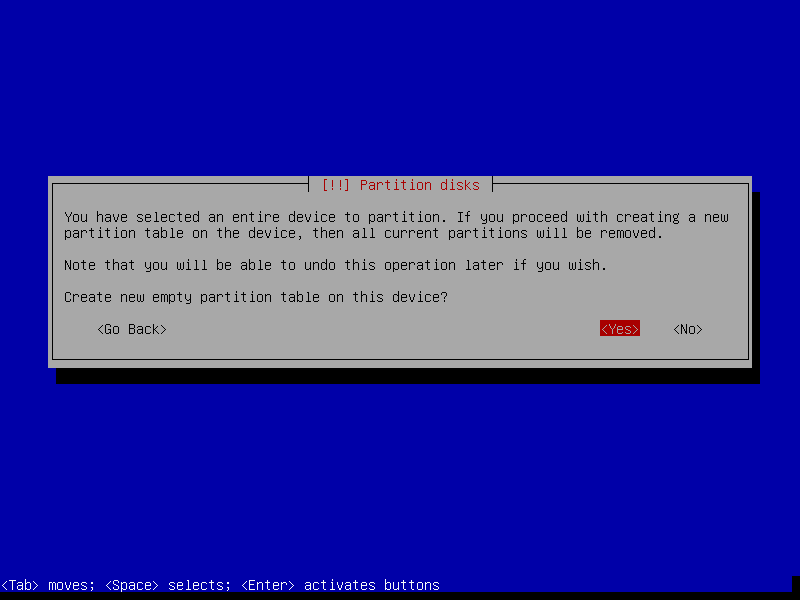
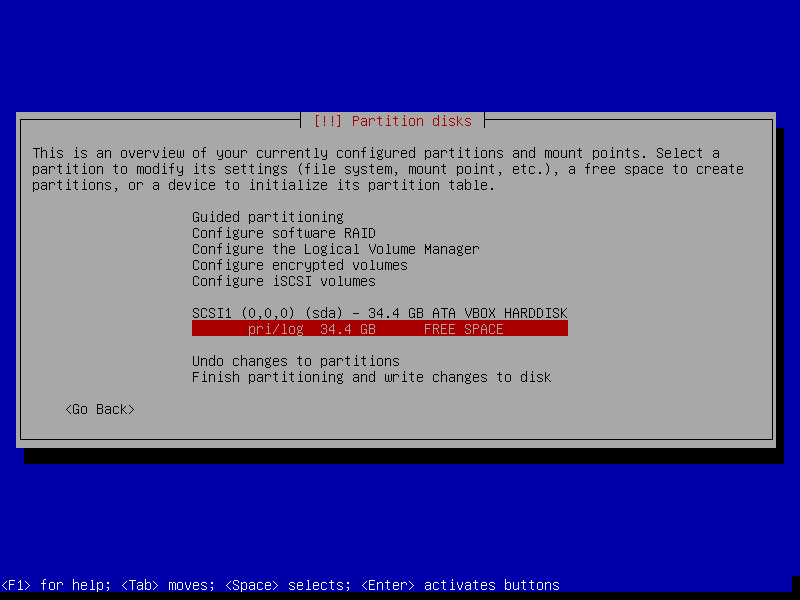
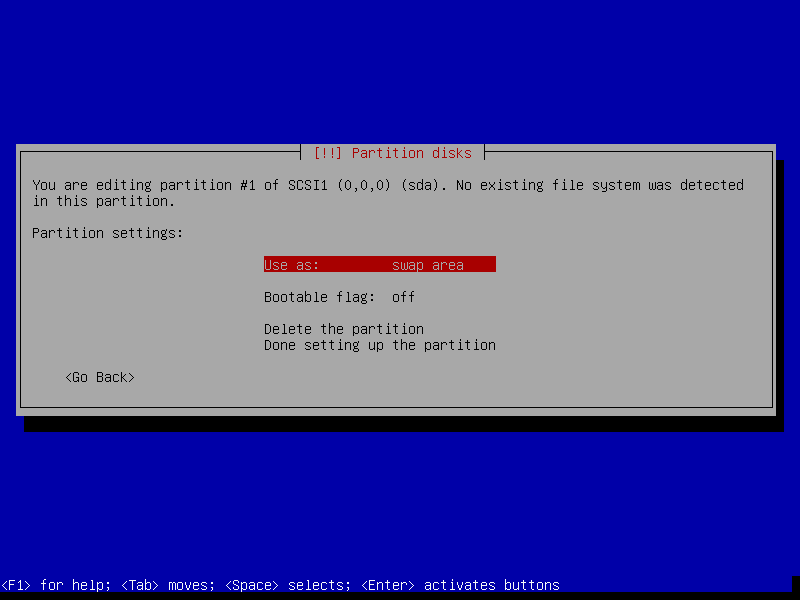
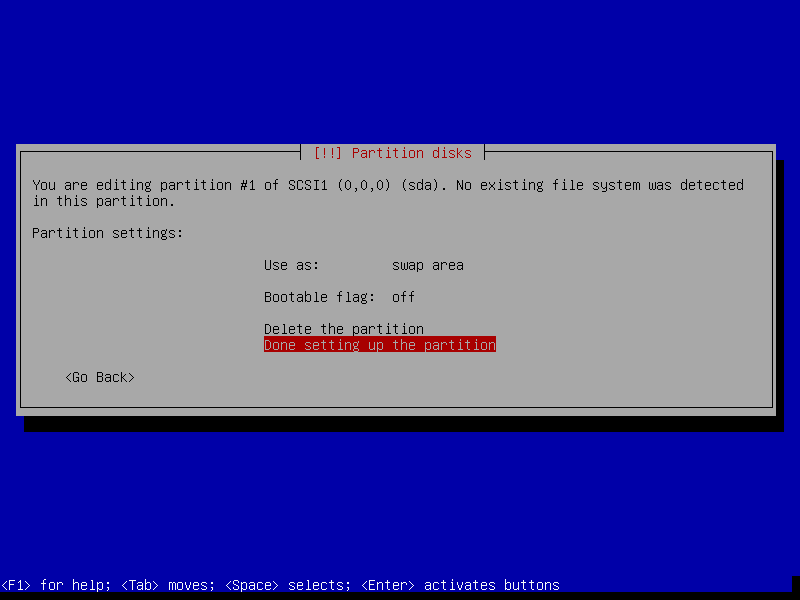
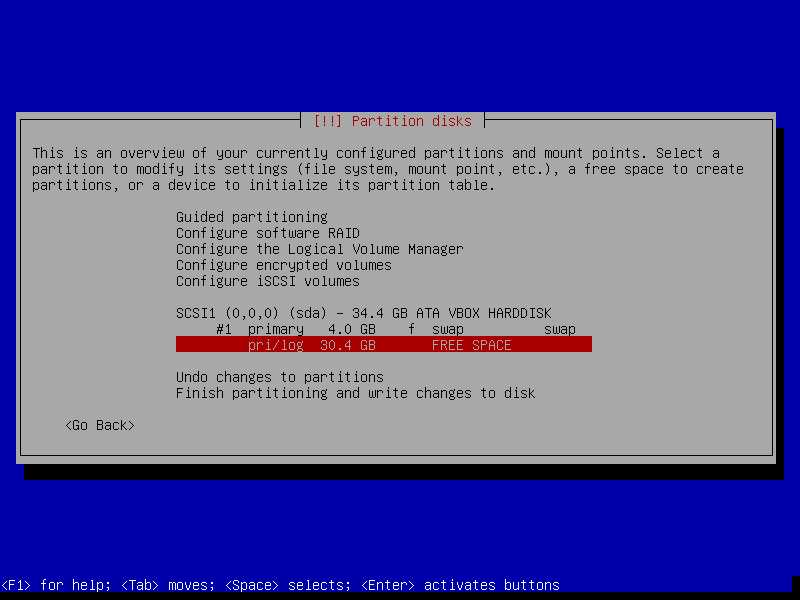
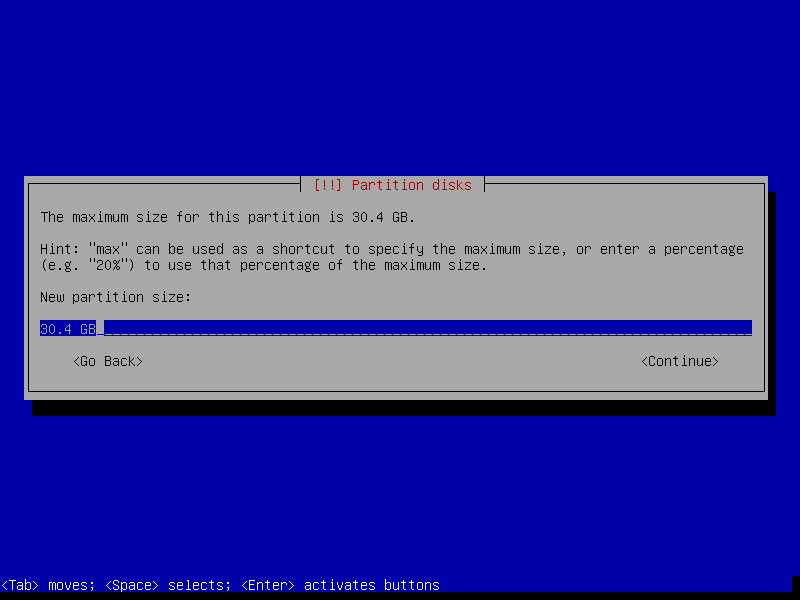
Installation
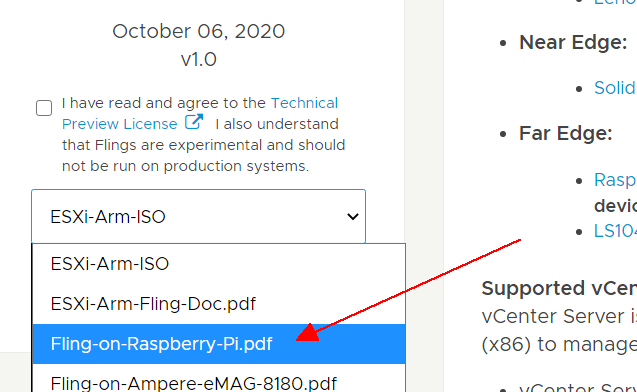
Download and Installation Instructions: flings.vmware.com/esxi-arm-edition
The installation steps are documented on the official ESXi-Arm Fling page. I highly recommend getting the latest version from there.
FAQ
Can you run every VM on ESXi-ARM?
No. ARM is a completely different CPU architecture and not compatible with x86 hardware. You need an Operating System that is compiled for the aarch64/arm64 architecture. The same applies to applications running inside the Guest OS. You can’t run software that is compiled for x86 on an ARM-based operating system.
Can you run a vCenter on ESXi-ARM?
No. VMware vCenter Server is an x86 based application that can not run on ARM hardware.
Can you migrate Virtual Machines from ESXi to ESXi-ARM using EVC?
No. You can’t migrate Virtual Machines across different CPU architectures. EVC is only intended to allow migrations across different CPU generations by limiting Virtual Machines to a defined instruction set that is compatible with the given, and newer, generations.
What is the difference between arm64 and aarch64?
ARM64 and AArch64 were developed for the Armv8-A architecture by different vendors. The code has been merged back in 2014 so as of today, both refer to the same thing. Most operating systems are using the “aarch64” term, but some (eg. Debian) refer to “arm64”.
Guest OS Options
Alpine Linux 3.12
Alpine Linux is a security-oriented, lightweight Linux distribution based on musl libc and busybox.
Installation: Use the Installer ISO. Guest OS: “Linux / Other 4.x or later Linux (64-bit)”
Download: https://alpinelinux.org/downloads/ (Get the aarch64 ISO)
VMware Tools: VMware Tools for Alpine 3 aarch64 on ESXi-Arm
CentOS 8
CentOS (Community Enterprise Operating System) is a Linux distribution that provides a free, community-supported computing platform functionally compatible with its upstream source, Red Hat Enterprise Linux (RHEL).
Installation: Use the Installer ISO.
Download: http://isoredirect.centos.org/centos/8/isos/aarch64/ (Choose any mirror)
VMware Tools: VMware Tools for CentOS 8 aarch64 on ESXi-Arm
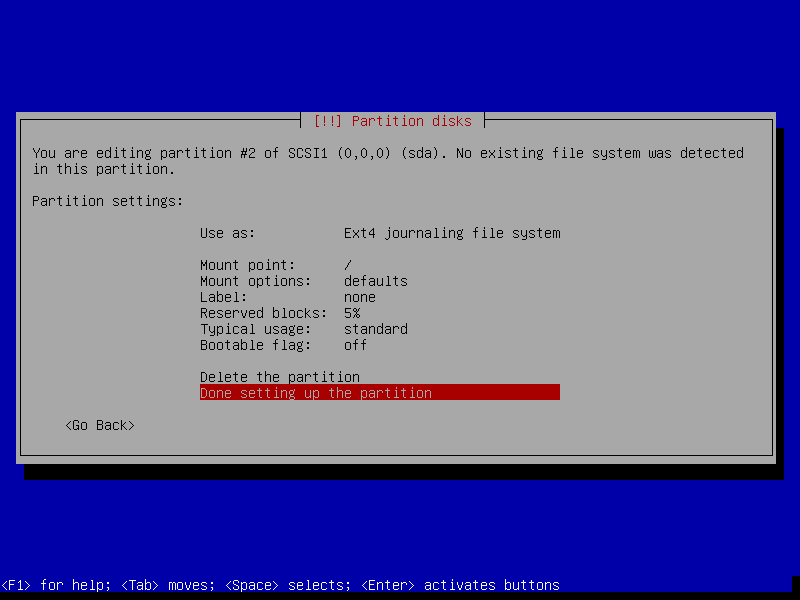
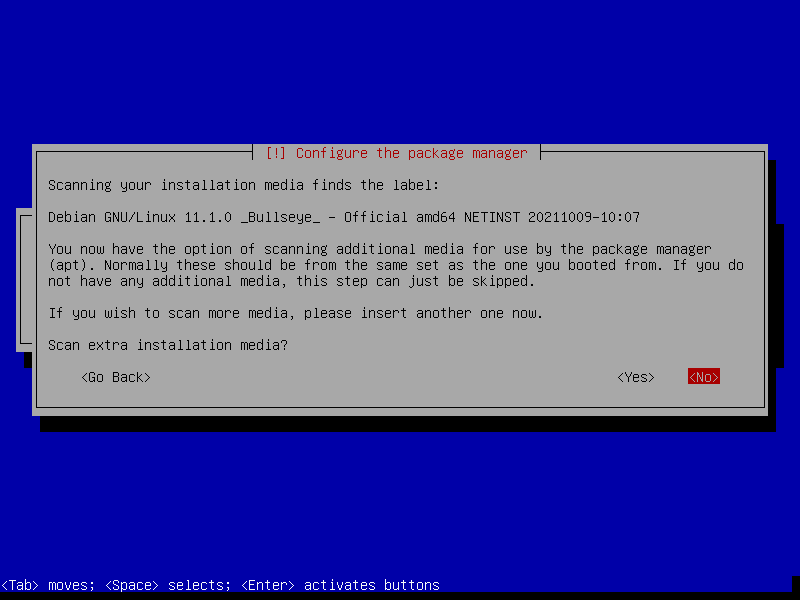
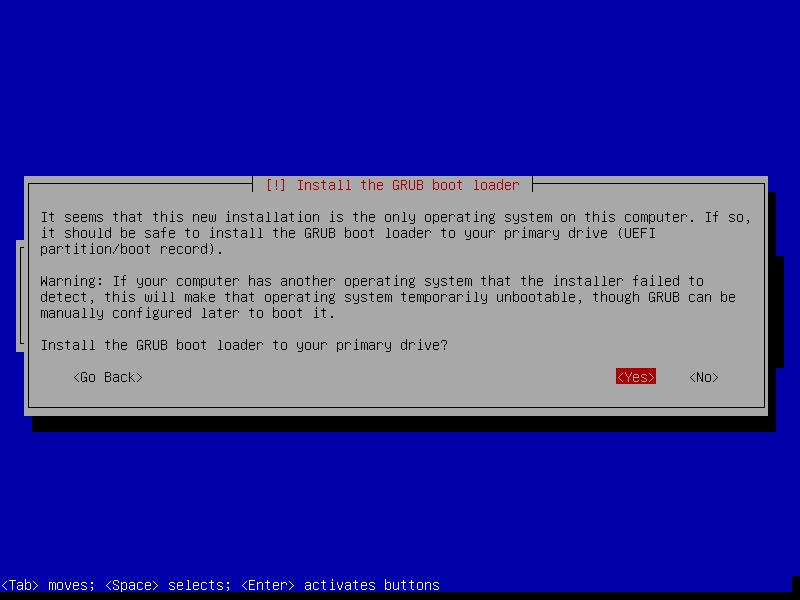
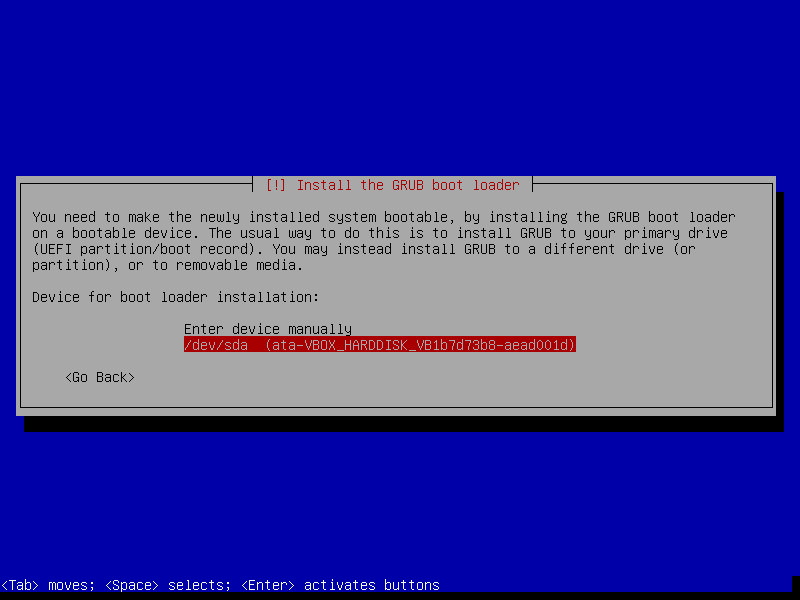
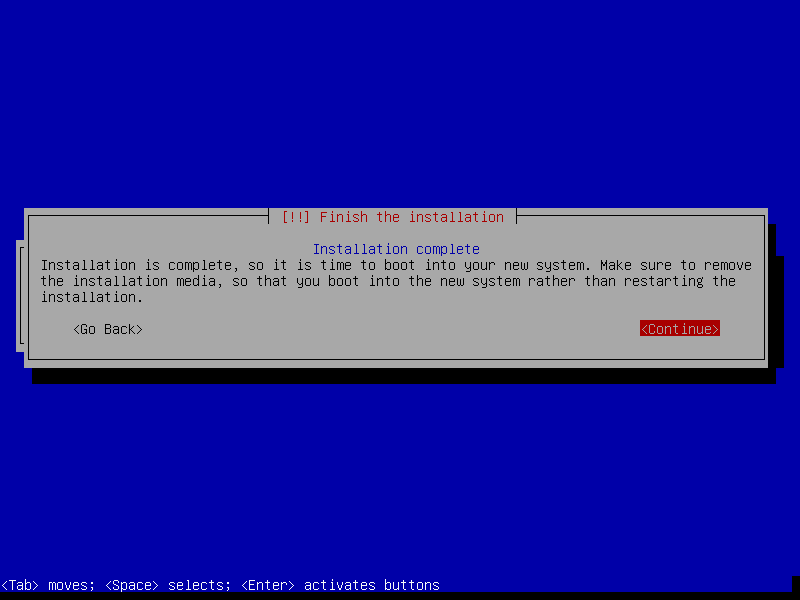
Debian 10
Debian is a Linux distribution composed of free and open-source software, developed by the community-supported Debian Project. It is one of the oldest and the most popular edition for personal computers and servers. Debian is also the basis for many other distributions.
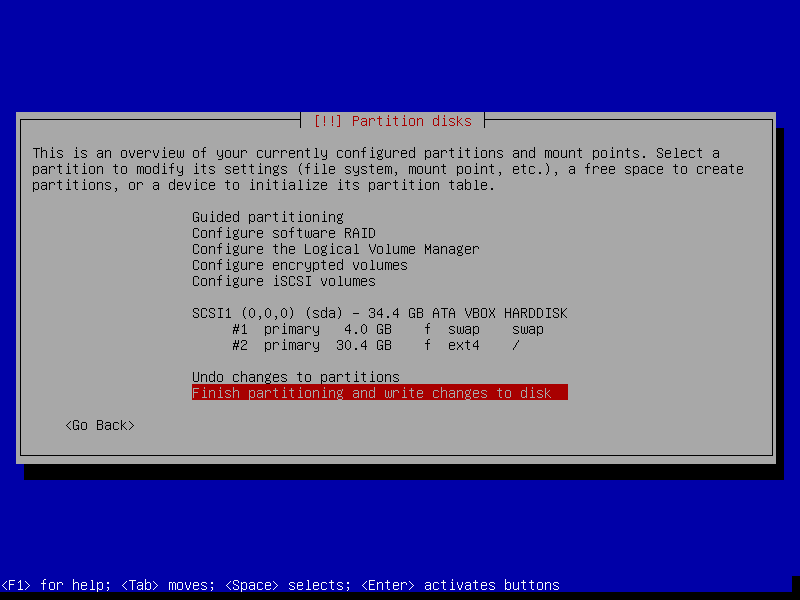
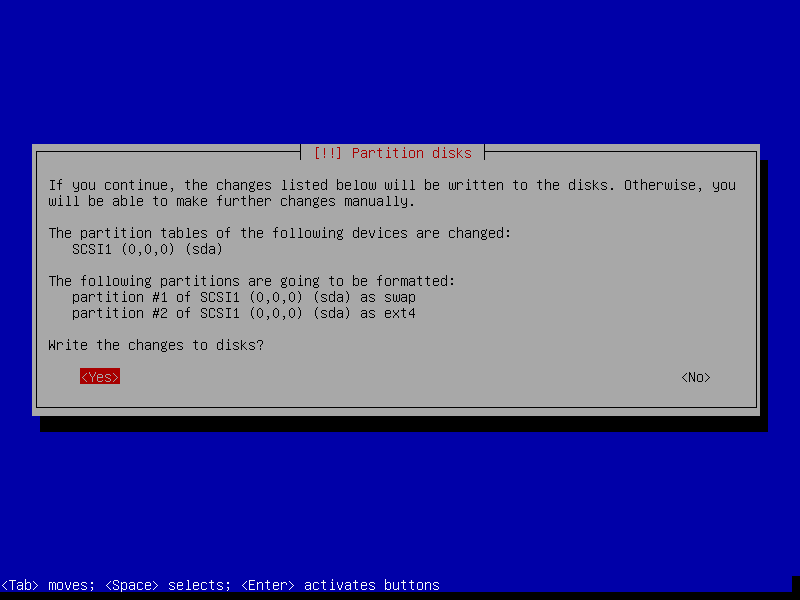
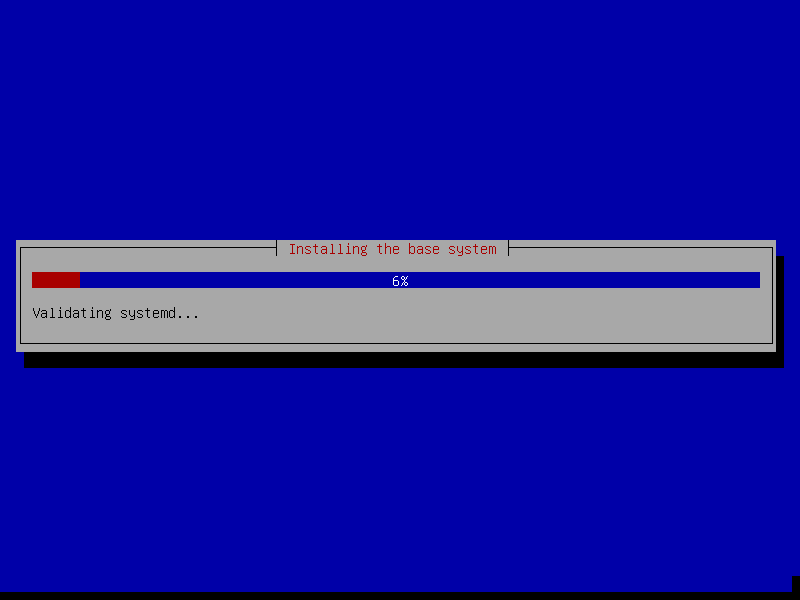
Installation: Use the Installer ISO.
Download: https://www.debian.org/distrib/netinst (Get the arm64 ISO)
VMware Tools: VMware Tools for Debian 10 arm64 on ESXi-Arm
Fedora 32
Fedora is a Linux distribution developed by the community-supported Fedora Project. Fedora contains software distributed under various free and open-source licenses and aims to be on the leading edge of free technologies.
Installation: Use the Installer ISO.
Download: https://getfedora.org/en/server/download/ (Get the aarch64 ISO)
VMware Tools: VMware Tools for Fedora 32 aarch64 on ESXi-Arm
OpenSUSE Tumbleweed
openSUSE is a Linux distribution sponsored by SUSE Software Solutions Germany GmbH and other companies. openSUSE offers Leap, a distribution built on a more tested base shared with SUSE Linux Enterprise (SLE), effectively making Leap a non-commercial version of its enterprise-grade operating system. Users that prefer more up-to-date free software can use its rolling release distribution Tumbleweed.
Installation: Use the Installer ISO.
Download: https://software.opensuse.org/distributions/tumbleweed (Get the aarch64 ISO)
VMware Tools: VMware Tools for openSUSE aarch64 on ESXi-Arm
Photon OS 3.0
Photon OS is a lightweight Linux operating system developed by VMware and made for cloud-native apps. Photon is optimized for vSphere and vCloud Air, providing an easy way for our customers to extend their current platform with VMware and run modern, distributed applications using containers.
Installation: Use the Installer ISO.
Download: https://github.com/vmware/photon/wiki/Downloading-Photon-OS (Search for “Full ISO arm64”)
VMware Tools:
# tdnf -y update
# tdnf install -y open-vm-tools
# systemctl enable vmtoolsd.service
# systemctl start vmtoolsd.service
Raspberry Pi OS
Raspberry Pi OS (formerly Raspbian) is a Debian-based operating system for Raspberry Pi. Since 2015 it has been officially provided by the Raspberry Pi Foundation as the primary operating system for the Raspberry Pi family.
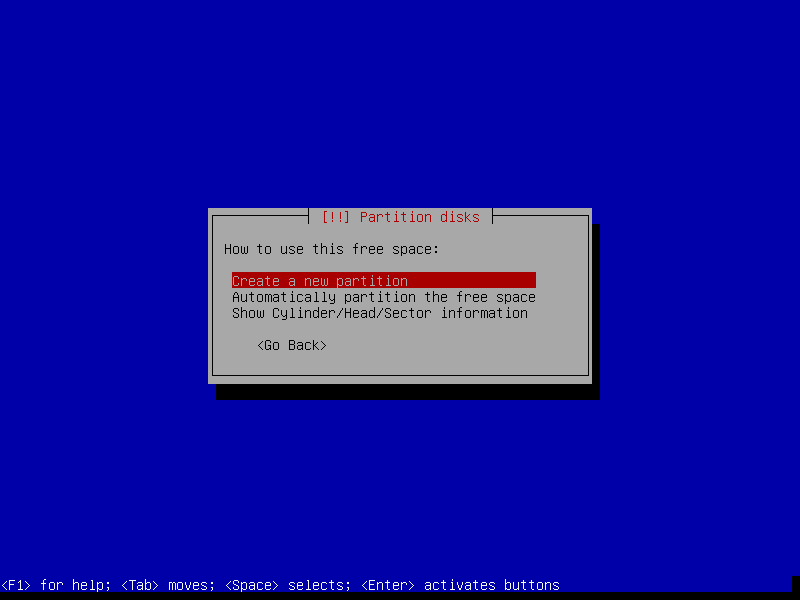
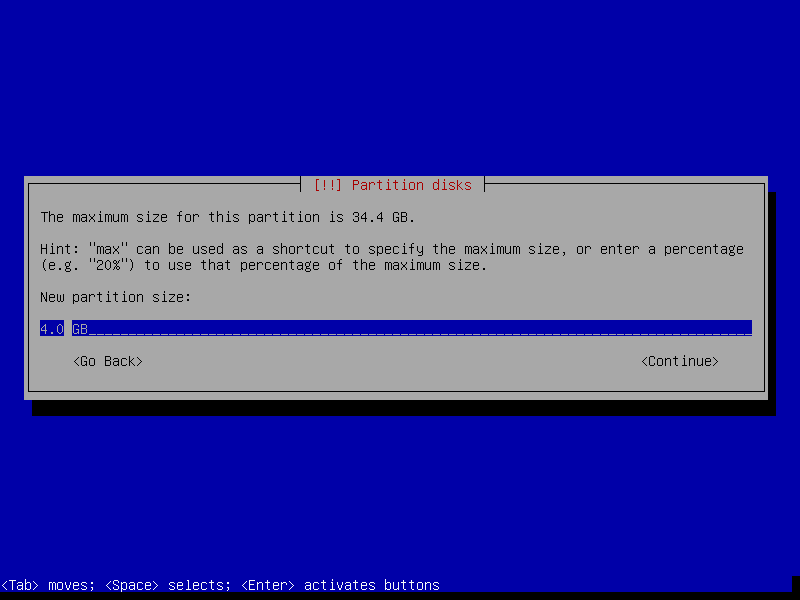
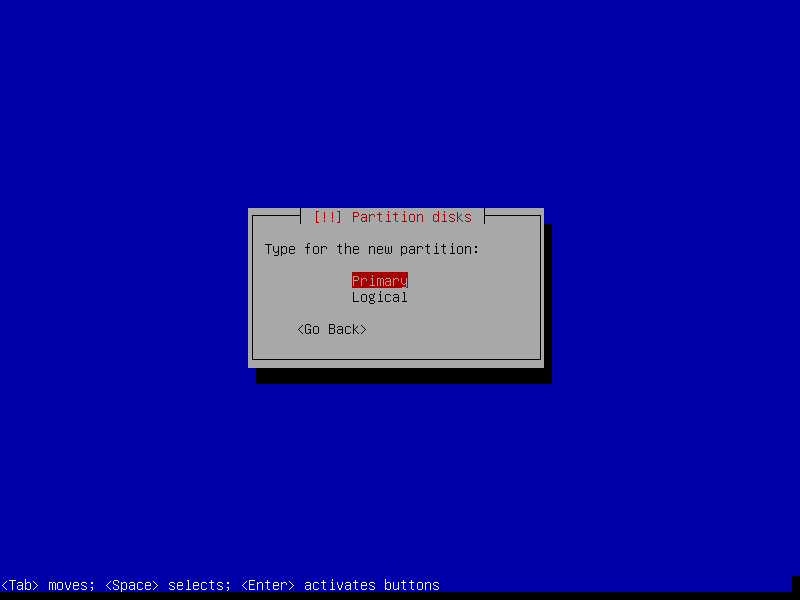
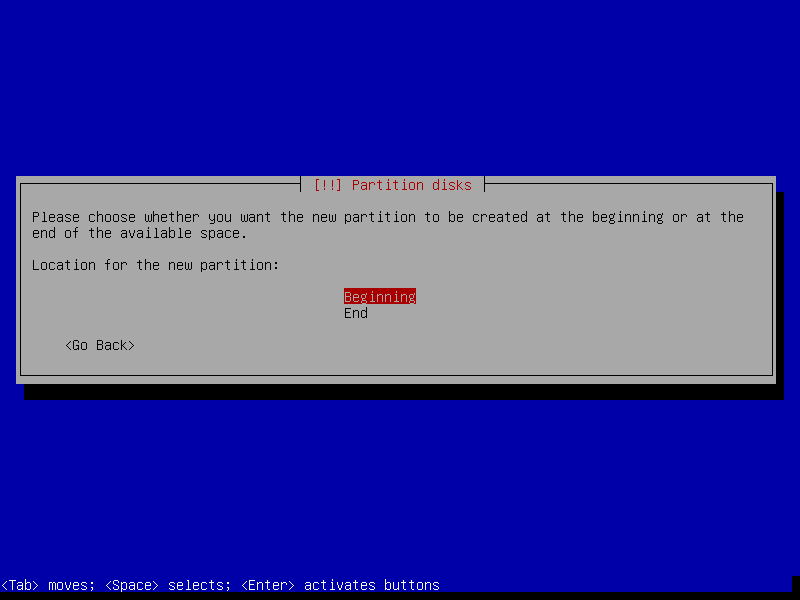
Installation: Raspberry Pi OS is only available as an image to write on an SD card. To use it as a Virtual Machine, you have to convert the image to a VMDK and fix the bootloader using Debian Rescue Mode. See this article by William Lam for a step-by-step guide.
Download: https://downloads.raspberrypi.org/raspios_arm64/images/
VMware Tools: Installing VMware Tools on Raspberry Pi OS for ESXi-Arm [virtuallyGhetto]
Ubuntu 20.04 LTS
Ubuntu is a Linux distribution based on Debian. It is officially released in three editions: Desktop, Server, and Core. Ubuntu is released every six months, with long-term support (LTS) releases every two years. As of 22 October 2020, the most recent long-term support release is 20.04 (“Focal Fossa”), which is supported until 2025 under public support
Installation: Use the Installer ISO.
Download: https://ubuntu.com/download/server/arm
VMware Tools: Compilation required -> VMware Tools for Ubuntu 20.04 LTS arm64 on ESXi-Arm
Troubleshooting
Error: Unable to push signed certificate to host [hostname]
When you try to add the Raspberry Pi running ESXi to a vCenter Server, the following error is displayed:
Task: Add standalone host
A general system error occurred: Unable to push signed certificate to host [hostname]
The problem is caused by the date and time configured on the Pi. The system does not have a battery-backed RTC which means that the time will reset on every boot. To solve the problem, you must configure NTP.
You can either configure NTP using the Host Client (https://[HOSTNAME]/ui/ -> Manage > System > Time & date) or from the command line by using the following commands:
# esxcli system ntp set -s pool.ntp.org
# esxcli system ntp set -e 1
/usr/lib/vmware/vsan/bin/iperf3: line 2: syntax error: unexpected “(”
When you try to run iPerf3 the following message is displayed:
[root@esxipi1:~] /usr/lib/vmware/vsan/bin/iperf3
/usr/lib/vmware/vsan/bin/iperf3: line 2: syntax error: unexpected “(“
The version of iPerf3 that comes with the ESXi-ARM Fling is not compiled for arm64. In Fling version 1.1, the broken iPerf has been removed. If you want to use iperf to analyze network throughput, you have to compile it yourself or use the version published in this article.


 O CURA 3D Ultimaker é um dos softwares mais utilizados na impressão 3D. Ele permite uma gama de ajustes e configurações interessantes. Vamos te mostrar como usar, desde a instalação até a impressão.